Reports are the central output of your laboratory work – they document test results in a legally compliant way and are often the decisive basis for your clients' next steps. The report management therefore brings together all created and uploaded test reports in a clear table, where you can search, edit, sign and send them – individually or as a batch action.
Navigation
Open the Reports management via:
Navigation bar → Samples → Reports
Note: The labels may differ depending on the configuration of your LDB.
Overview
The Reports management lists all created and uploaded reports in a tabular overview and bundles the associated actions.
The Reports management allows you to:
- Search and filter reports (e.g. by status, date, customer, order, signature, design and tags)
- Upload PDF reports
- View reports as PDF, edit and sign them, or request signatures.
- Send reports by email or mark them as sent.
- Edit multiple reports at once and merge them into one PDF.
- View the status (e.g. created, signed, sent) including signature information.
Description of the tabular overview
The reports are shown in a tabular overview. The following table describes the columns.
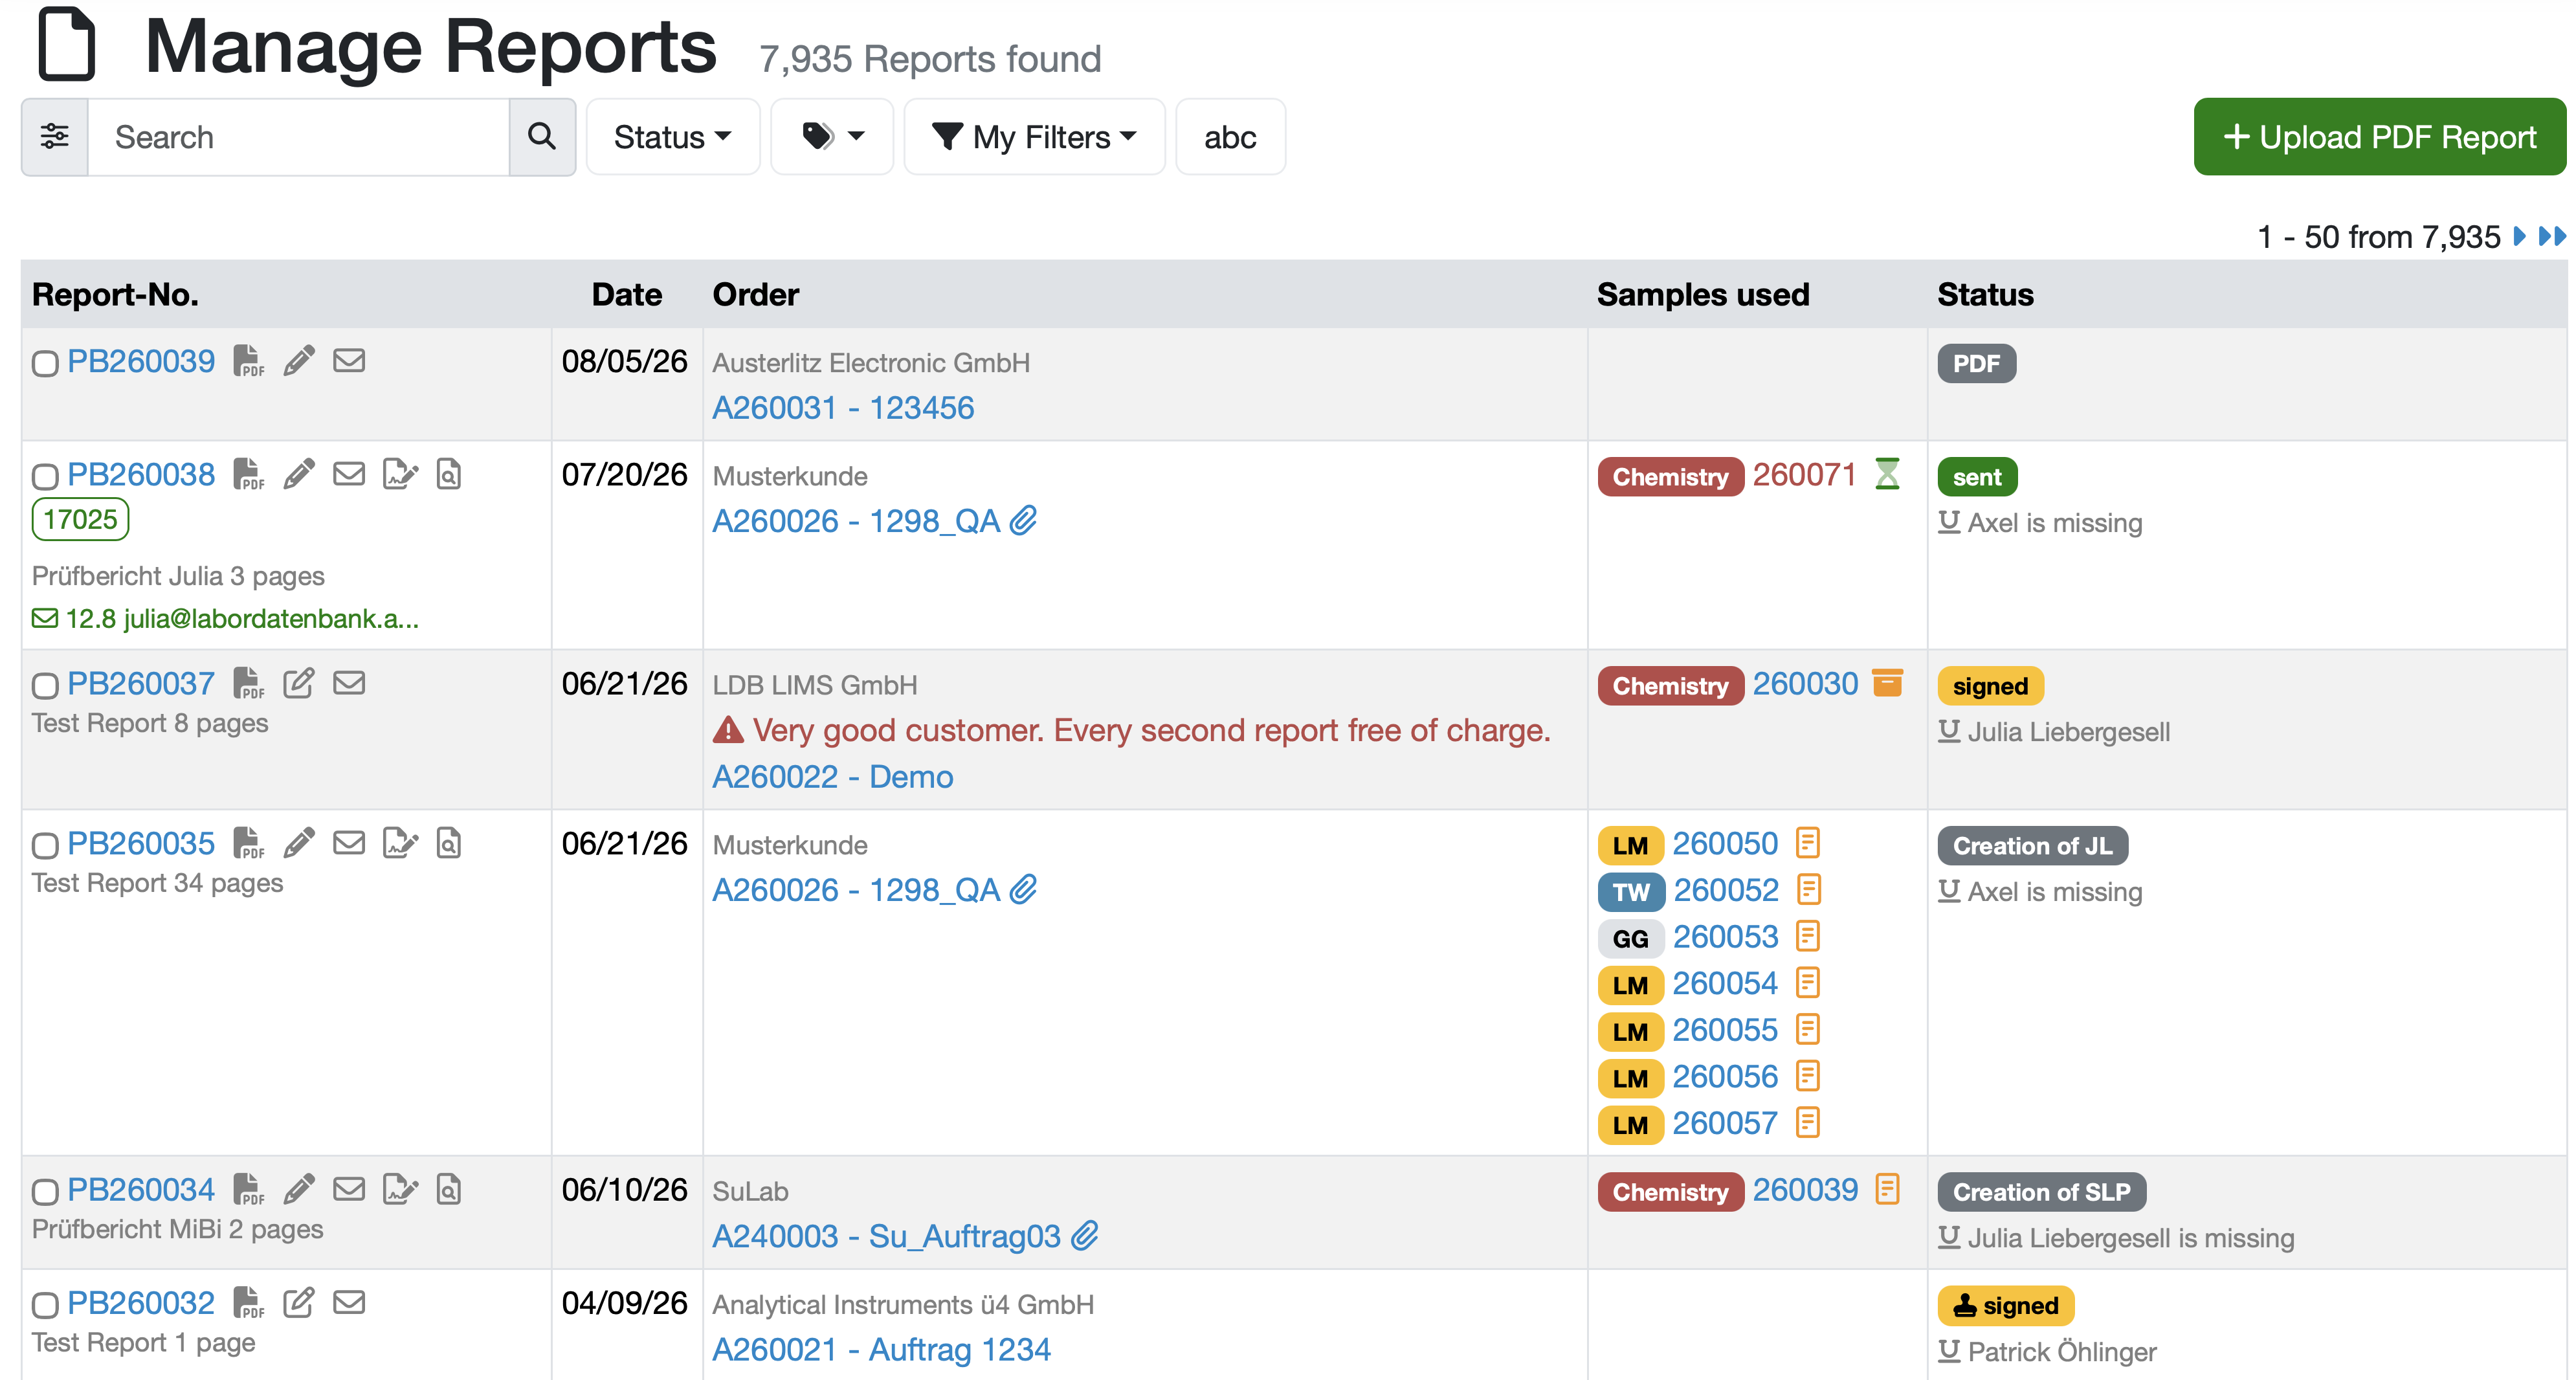
Figure: Overview of the Reports management
Note: All texts highlighted in blue in the table are clickable links to the respective data types. Some columns and functions are always present, others depend on the configuration of your LDB and your permissions. The naming of the columns may also depend on the configuration.
| Column |
Description |
| Report-No. |
Shows the report number as a blue-highlighted link to the PDF preview. Below it appear the PDF template used for this report, the number of pages, and, where applicable, tags, information about the email dispatch, and re-issue. Use the symbols to call up the row-specific actions (see section "Symbols per row"). |
| Date |
Shows the report date. |
| Order |
Shows the assigned customer and the linked order (blue-highlighted link). A customer-specific note or confidentiality notice is highlighted in red. A paperclip symbol indicates linked files. |
| Samples used |
Lists the samples used in the report with area (colored badges) and sample number (blue-highlighted link). The symbol on the right shows the respective sample status. |
| Status |
Shows the current report status (e.g. created, signed). Below it, details about the signature are shown – such as a missing signature (U … is missing). |
Functions
Search functions
To find reports quickly and precisely, various search options are available.
Quick search
The quick search enables a cross-data-type search without first switching to the respective area.
- Find the search field in the navigation bar at the top left.
- Focus the search field with
/ or s, or click into it and enter your search term.
- Use the search shortcut
shortcut:searchterm for a targeted search in the Reports area.
Simple search
- Use the search field directly above the reports list (magnifying glass symbol).
- Enter the search term, click the magnifying glass symbol or press Enter to start the search.
Advanced search / detail search
- Click the slider symbol to the left of the search field to open the advanced search mask.
- Filter by specific criteria such as search term, date, customer, order, signature, signature date, PDF template and status, as well as further configuration-dependent fields.
- In the advanced search mask, enable the Save filter option to save the current search criteria as a named, reusable filter.
Further search and filter functions
- Use the Status dropdown filter in the top menu bar to quickly narrow down the list. Available values include: All except archived, created, Signature requested, signed, signed and sent, signed, not sent, sent, not signed, sent as well as configured status categories and archived.
- Use the tag filter (tags) to narrow down reports by assigned tags.
- Saved filter settings can be found under Personal filters or Public filters.
Symbols per row
At the beginning of each report row – depending on status and permission – the following symbols are available:
- PDF symbol: Opens the PDF preview of the report.
- Pencil symbol: Opens the report for editing. This function is only available for reports that are not signed.
- Envelope symbol: Sends the report by email.
- Signature symbol: Starts the process for signing the report. This function is only available for reports that are not signed.
- Magnifying-glass-with-document symbol: Opens the debug preview of the PDF (only with the appropriate permission).
- Pencil-in-box symbol: Creates a re-issue of an already signed report and/or archives the report. This function is only available for signed reports and is used to create a corrected or new version of the original report without changing the signed original.
Note: For uploaded PDF reports the available functions or symbols differ.
Upload PDF report
Upload an externally created report as a PDF into the LDB.
- Click the green + Upload PDF Report button at the top right.
View report
- Click the blue-highlighted report number to switch to the full detail view.
- If you only want to see the PDF preview, click the PDF symbol directly next to the blue-highlighted report number.
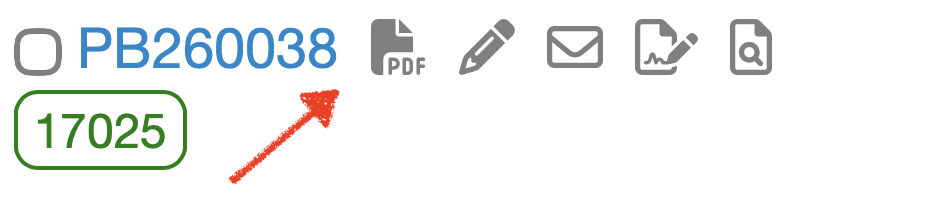
Figure: View report
Edit existing report
Change the data of an already created report via the edit function. This is only possible if a report has not yet been signed and thereby completed.
- In the report's row, click the pencil symbol.
- Alternatively: Click the blue-highlighted report number to switch to the detail view, and there click the Edit report button.
- If needed, use the search functions to find the report more quickly.
Further information: Create/Edit/Archive report
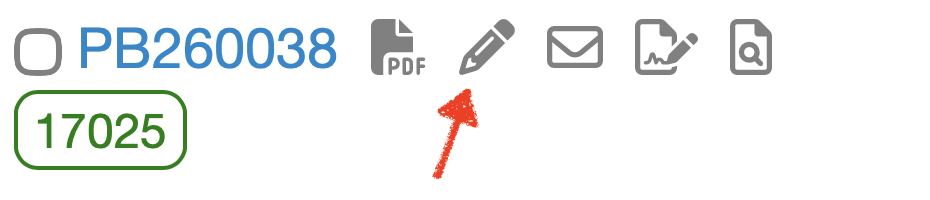
Figure: Edit report
Send report in email
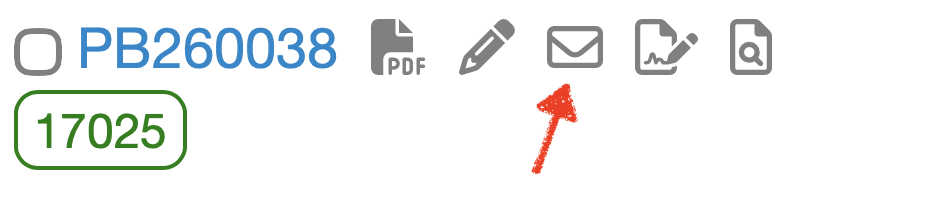
Figure: Send report
Sign report
- Click the signature symbol to reach the mask for signing the report.
Further information: Sign reports
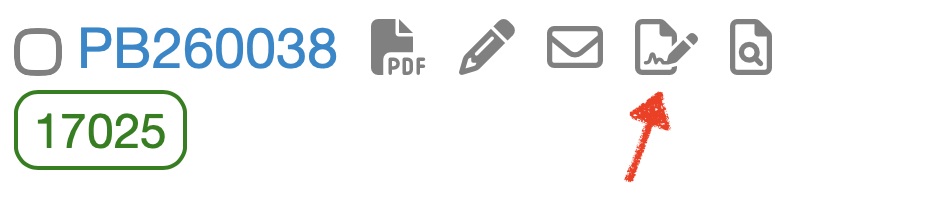
Figure: Sign report
Debug preview / draft mode of the PDF report
- Click the magnifying-glass-with-document symbol to open the debug preview of the PDF. This helps you when designing a report. Here, in draft mode, you see the individual elements with their headings marked in color.
Requires the access right: Create/edit PDF templates
Further information: Create design elements
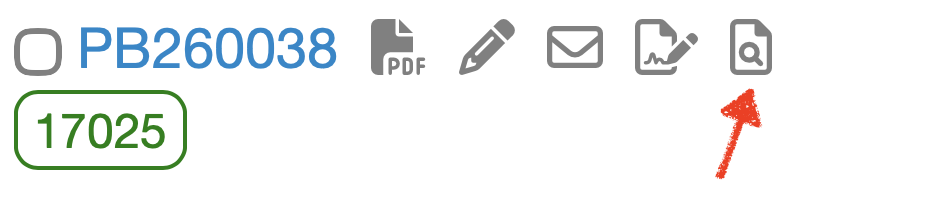
Figure: Show draft mode
Archive report and/or create re-issue
Reports cannot be deleted but can be archived.
Via the archived status they can be called up again if needed.
Create re-issue
Through the re-issue, the existing report is copied and archived. You can edit the new (copied) report and sign it again.
Archive report
Archived reports disappear from the reports overview but can be found again via the report search.
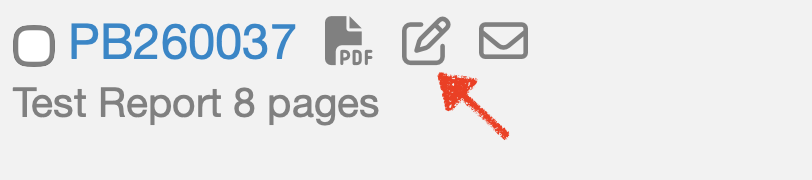
Figure: Re-issue/archive report
Bulk actions for reports
Via the Selected Reports… function you can apply predefined actions such as signing, sending by email, or merging into one PDF to multiple reports.
First mark the relevant reports and then select the desired action.
- Mark individual reports: Enable the checkbox to the left of the report number.
- Mark all reports: Enable the mark all checkbox at the bottom of the list.
- Open the Selected Reports… dropdown at the bottom of the list.
- Select one of the available actions.
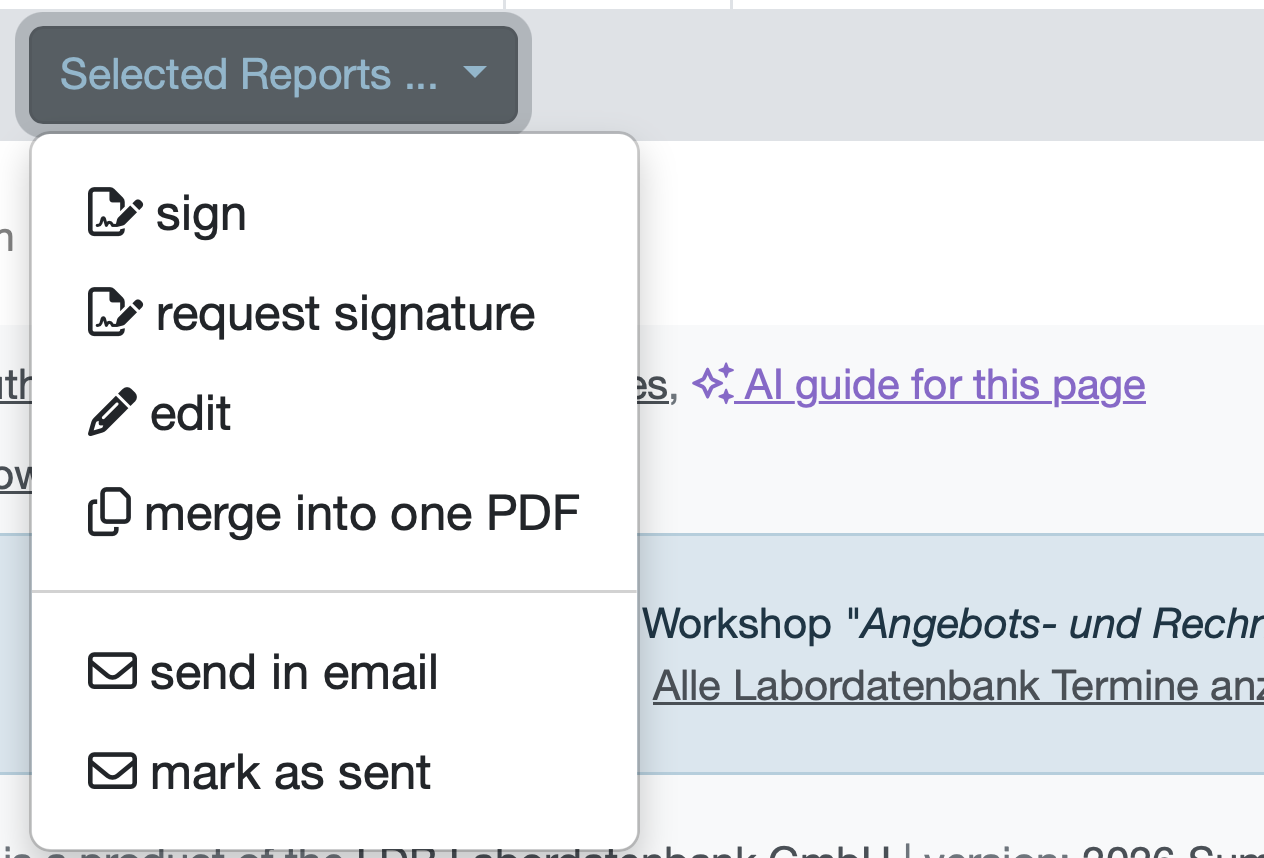
Figure: Actions for Selected Reports…
The available actions depend on the configuration and permissions. Examples:
- sign – sign the marked reports.
- request signature – request a signature for the marked reports (depending on the configuration, with predefined signatories to choose from).
Further information: Request signature
- edit – adjust the master data of all previously marked reports at once (e.g. Date, Tags, Design, Signature and Status). All entries are applied to all marked reports.
Note: Fields that are not filled in leave the existing values of the reports unchanged.
- merge into one PDF – merge the marked reports into a shared PDF.
- send in email – send the marked reports by email.
- mark as sent – mark the marked reports as sent with a dispatch date (e.g. for postal delivery).
- Evaluations – call up configured statistics or exports for the marked reports.
Sorting of reports
Sorting logic
The list is ordered according to the configured sorting. The sorting is adjusted for you by your customer support.
Number of reports per page
- By default, 50 reports are shown per page (see the display "1 – 50 from …").
- The number can be adjusted under Navigation bar → Settings → System settings → Reports → Reports per page (access rights required).
- To page through, use the page navigation at the top right or at the bottom of the list.
Related topics