To open the detail view of an online order request, follow this path:
Navigation bar → Orders → online order requests → Click on the number of the desired online order request
Use the search function if needed to find a specific online order request quickly and precisely.
Note: The exact names of the menu items may differ depending on the configuration of your LDB.
The customer zone is an optional additional module of the LDB.
Your customers registered in the LDB submit online order requests via the client zone. The samples are then sent to your laboratory together with the number of the online order request. This number is stated on the confirmation of the online order request.
At sample receipt, you open the online order request in the LDB using this number and add the samples. Master data and selected analyses are transferred automatically, so you do not need to enter any further data. Your customers can view the status of their samples in their client zone at any time.
The detail view brings together all relevant information and allows you to:
Note: Which content and functions are available in the detail view depends on the configuration of your LDB. For example, prices and the total price are not shown in every configuration, and orders can be placed per sample (adding the samples to an existing order) or per order (creating a new order from the online order request), depending on the settings. Names may also vary depending on the configuration. All texts highlighted in blue are clickable links to the respective data types.
The detail view of an online order request is divided into the header area, the content area, the side panel and the lower area for accepting or rejecting. The individual areas are described and shown below.
In the header area, you see the number of the online order request, the current status as a coloured label, the buttons Show PDF confirmation and Add new task, as well as the ordered services.
Description of the status options:
| Status | Description |
|---|---|
| unconfirmed | The online order request has not yet been confirmed in the client zone. It is shown there under the unconfirmed requests and can be edited, confirmed or deleted. Only after confirmation does it appear in the LDB among the online order requests, where the laboratory can accept or reject it. Note: If the laboratory rejects a confirmed online order request, it changes back to the status unconfirmed. In the LDB, you can then find it using the search function with the status unconfirmed. In the client zone, it can be edited, confirmed or deleted again. |
| confirmed | The online order request has been confirmed in the client zone and thus placed. The laboratory can accept or reject it. In the client zone, it is shown under Pending online orders and can still be deleted there. |
| activated | The online order request has been accepted by the laboratory and the samples or the order have been added. This usually happens as soon as the samples have physically arrived at the laboratory. In the client zone, it is then shown in the overview table. |
Ordered services and remarks:
Depending on the configuration of your LDB, the selected services are listed:
If available, the remarks entered in the client zone and any existing remark by laboratory are shown. If an asset is assigned, it appears as a link.
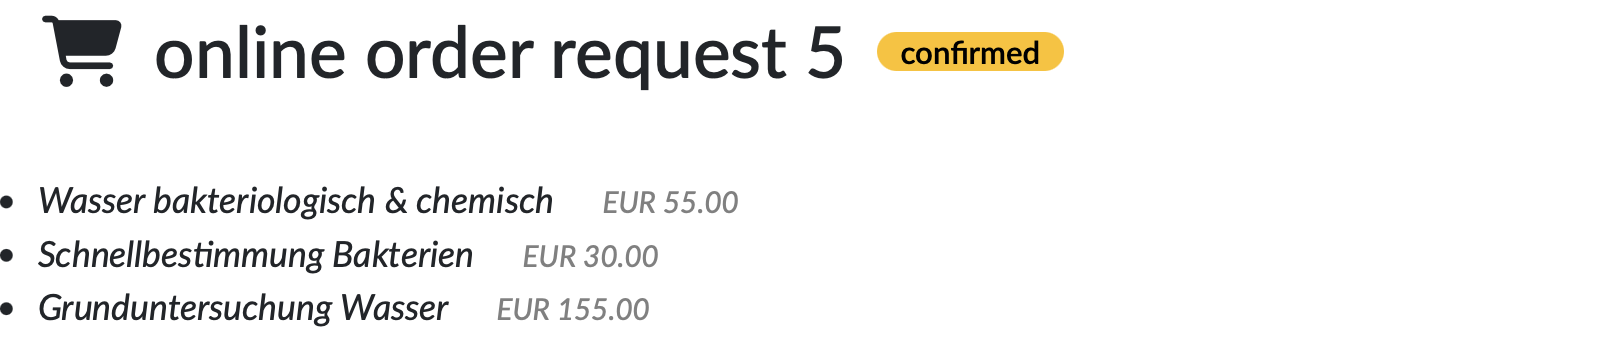
Figure: Header area of an online order request with number, status and ordered services
The content area shows the request data, the submitted samples and the uploaded attachments.
Request data and samples
| Field | Description |
|---|---|
| Total price | Sum of all ordered services. Whether it is shown depends on the configuration. |
| Date | Date and time when the online order request was created. |
| Created by | Contact (incl. login) via which the online order request was created in the client zone. |
| Sample | Consecutive number and name of each ordered sample. Use the checkbox to select which samples are to be added. Samples that have already been added are marked with a green check mark and the sample number highlighted in green. |
Click Details for a sample to expand the selected template, the completed master data and the selected analyses or services. Template and analyses are linked to their respective detail views.
Attachments
If files were uploaded in the client zone, they are shown with a thumbnail or download icon and the file name.
Depending on the status, the lower area of the detail view shows either the form for accepting or rejecting the online order request or an overview of the data already added. Further information can be found further down in this guide.
To the right of the content area, the tasks for the online order request and the Contact details stored in the LDB (Description, Name, Email, Address) are shown.
Once the online order request has been confirmed in the client zone, the buttons Add authorized Samples and Reject online order request appear.
To accept the online order request, add the authorized samples:
The selected samples are added to the selected order and are visible in the sample list.
The status of the online order request changes to activated.
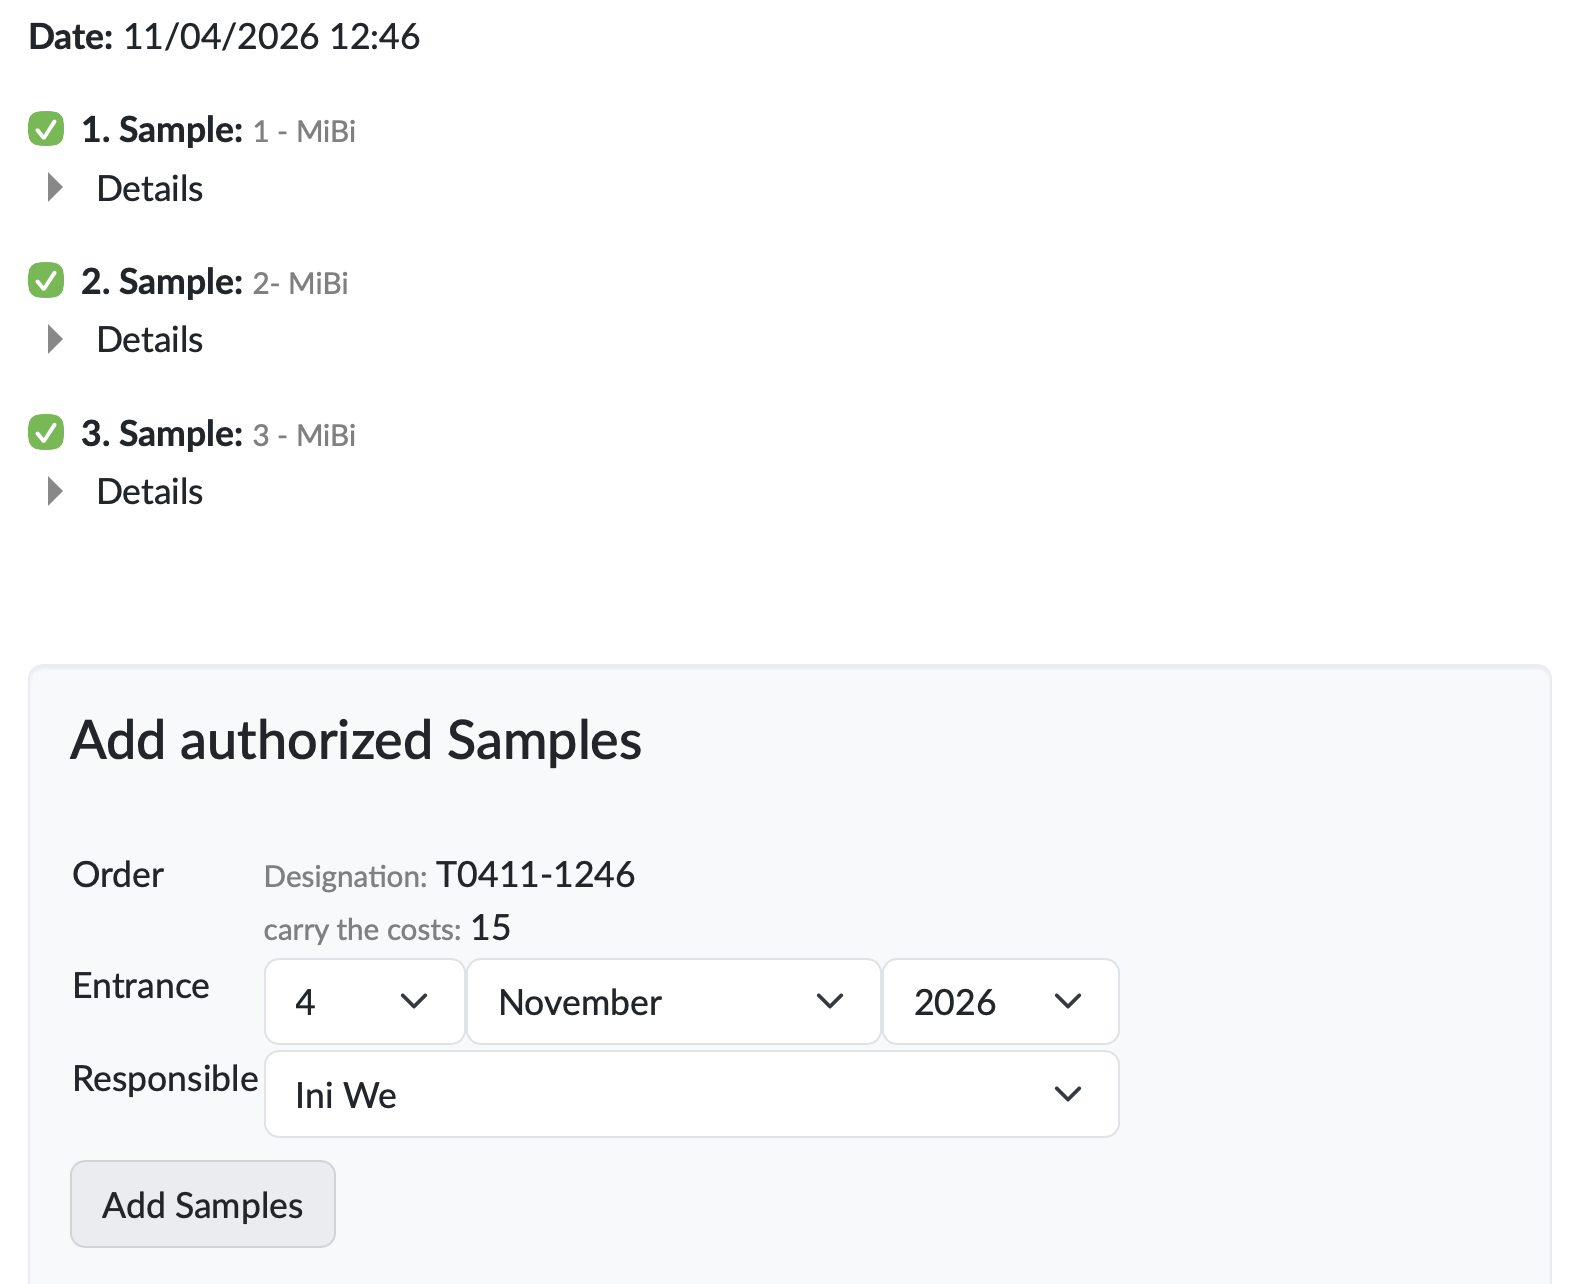
Figure: Confirmed online order request with the area for adding the authorized samples
Your customers can view the status of their samples in the client zone at any time.
Adding samples partially
You can also add only some of the samples, e.g. if not all samples have arrived at the laboratory yet:
Note: Unconfirmed online order requests cannot be accepted.
Confirmed online order requests that have not yet been activated, i.e. for which no samples or orders have been added yet, can be rejected:
The reason is then shown as remark by laboratory in the online order request.
The status of the online order request changes back to unconfirmed.
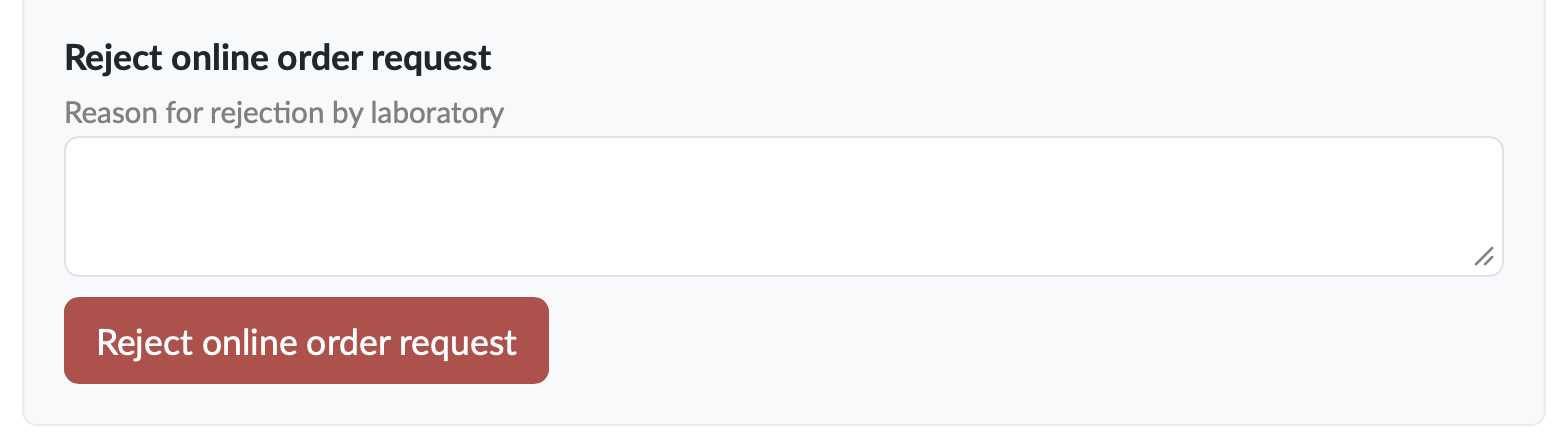
Figure: Reject online order request
After the samples have been added, the detail view shows the following information:
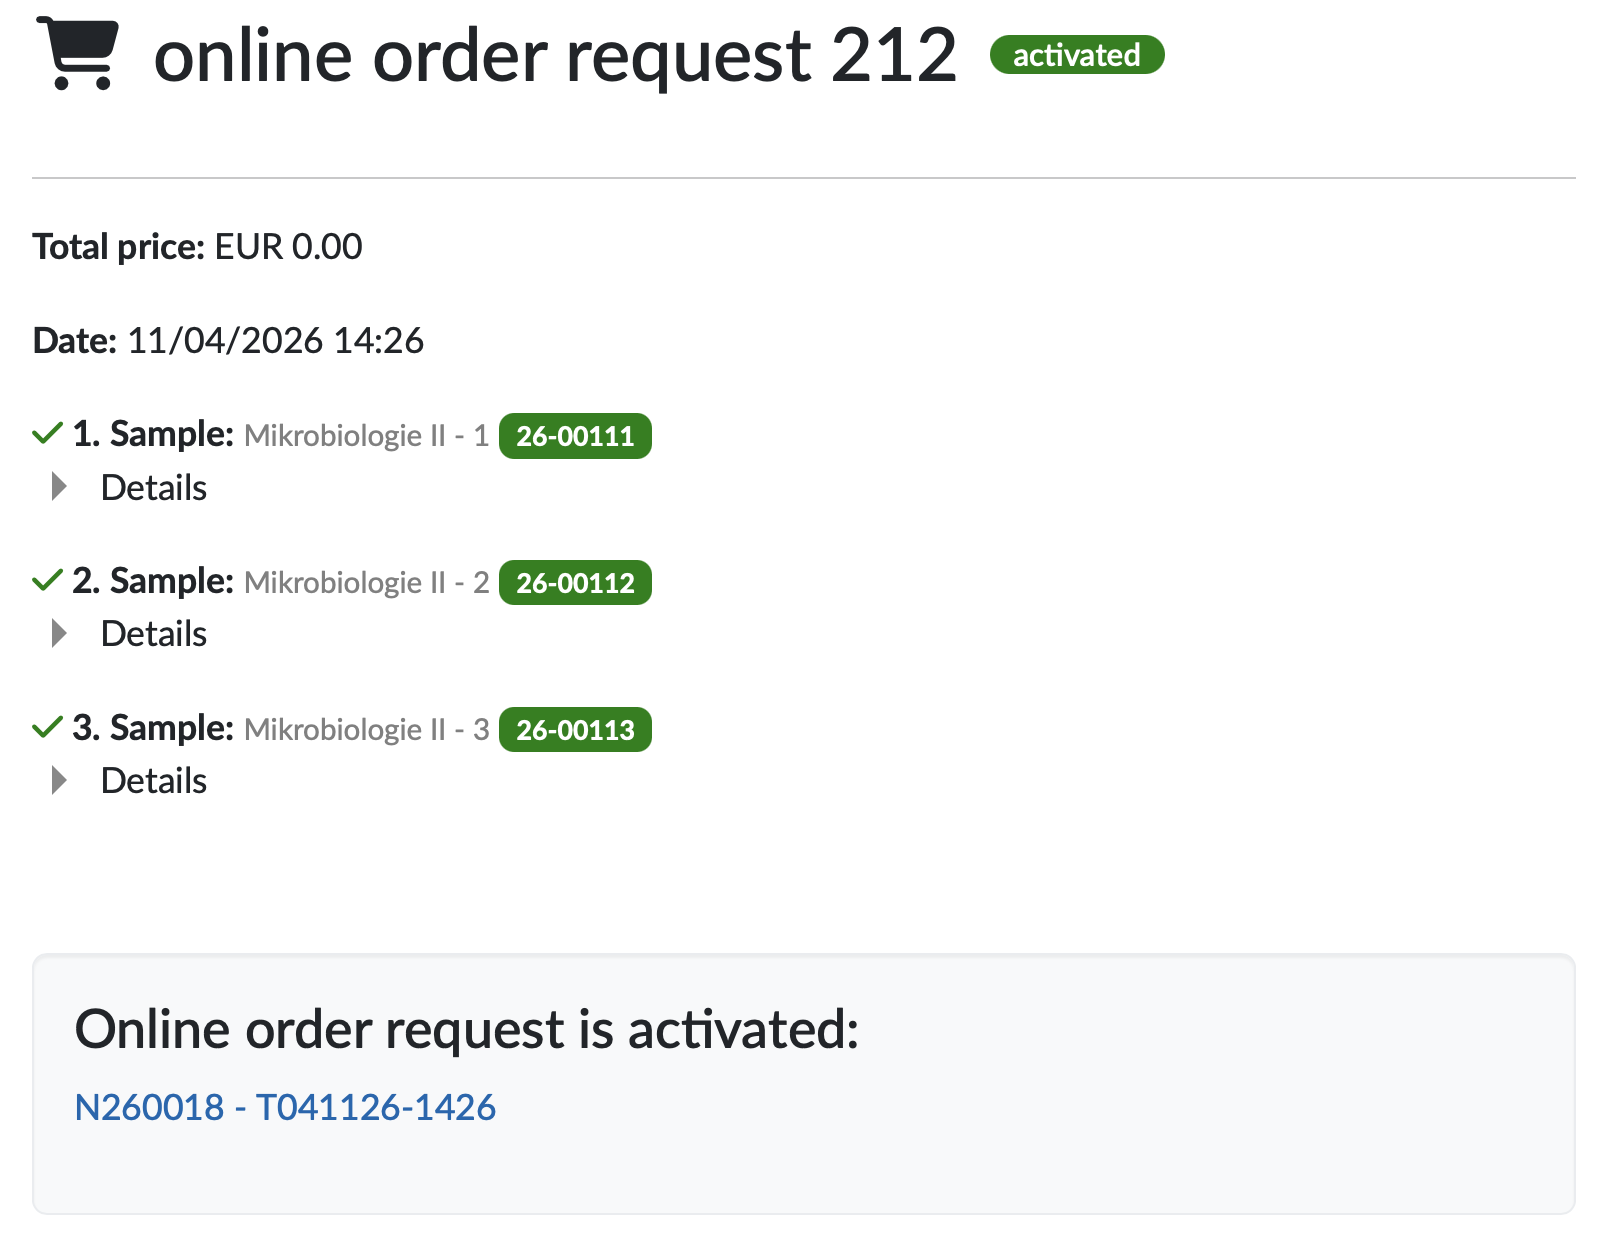
Figure: Detail view of an activated online order request with added samples and linked order
Note: For fully activated online order requests, the functions for adding samples and rejecting are no longer available.
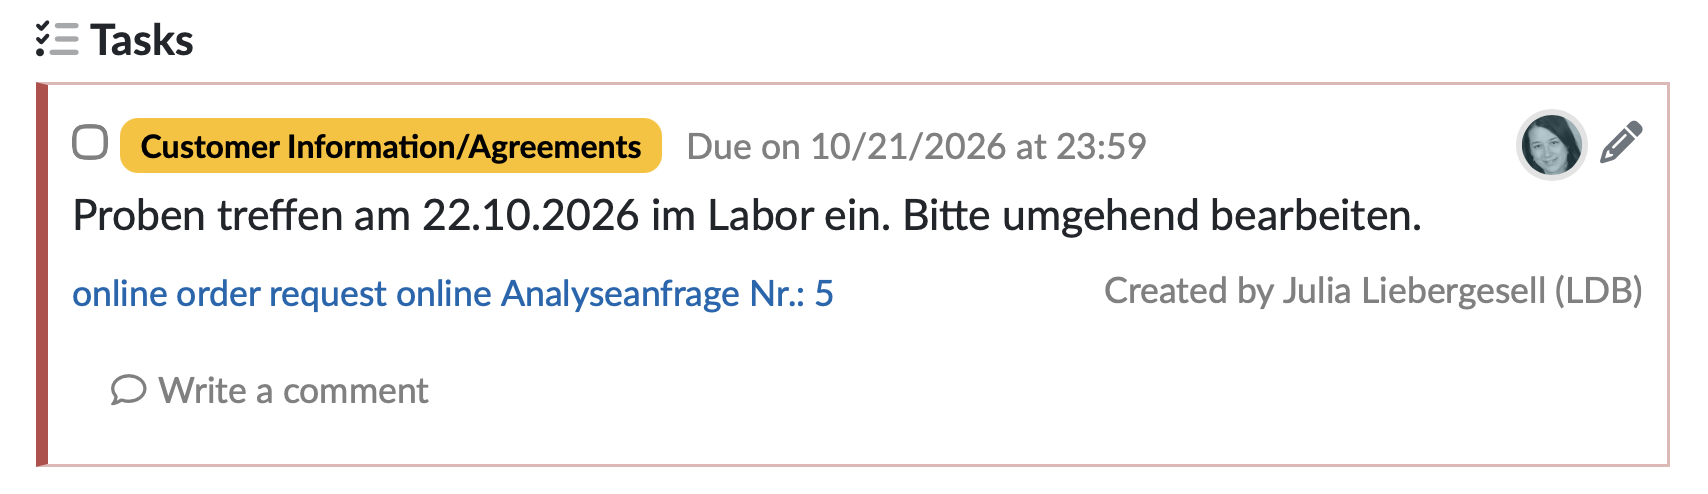
Figure: Task for an online order request
Last change: 11/04/26
General information
Client zone (optional)
8D-report
Supplier evaluation
Material
Employees
Customers
Orders
Samples
PDF templates
Assets
Recipes
Reports
Report table editor
Interfaces
AI functions
Introductory phase
Query reports
Templates
Offers
Invoices
Parameters
Calculating with parameters
Webservices
Transformationscode
Test plans / limit values / specifications
Documents control
Questions and answers
Equipment
Trainings
Others
File management
Processes