Create / edit / delete station

This guide describes the complete configuration of a station within the LDB sample tracking system for automated sample tracking and assignment in the laboratory.

Navigation

To create, edit, or delete a station, follow this path:
Navigation bar → Samples → Stations


Create station

Under the menu heading, you will find the button for creating a new station in the left section of the page.

  • Click on + Create station and enter the station data.

Figure: Button for creating a new station

Enter basic data

By default, a station contains the following input fields:

Figure: Input screen for creating a station
  • Name (required field): Enter the name of the station here.
    Note: The name appears in the station overview.
  • Category (optional): Select the category from the dropdown menu. The category allows you to group stations by color and organize them in a structured way.
    Note: To the right of the dropdown menu is an edit icon (pencil) that allows you to add new categories or edit existing ones.
  • Test equipment: From the dropdown menu, you can select a test device from the test equipment management system to assign it to this station. This links the station to specific laboratory equipment and allows the test equipment to be accessed directly via the link.
  • Remark: You can enter additional information or comments about the station in this text field. The note appears in the station overview.
  • Save your entries at the bottom of the page.

Edit station

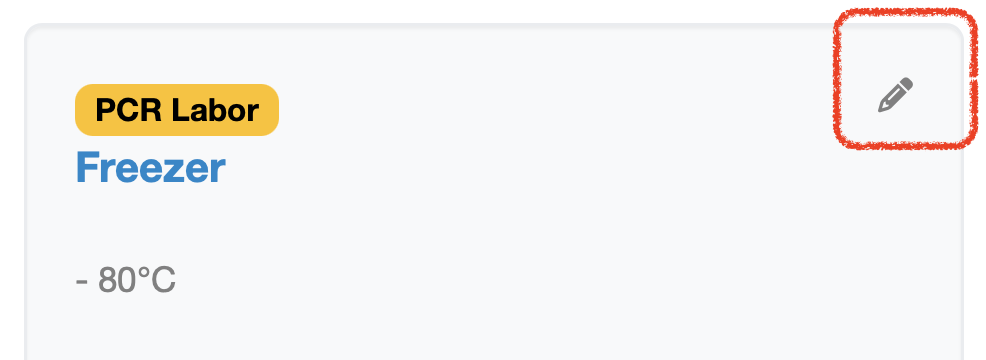
  • To edit a station, click on the gray pencil icon to the right of the station name.

Figure: Pencil icon for editing a station


Further settings

The following settings when editing or creating a station are configuration-dependent. Please contact your customer support if you would like to use these functions.

Storage station

  • Storage station: Activate this checkbox to define the station as a storage station. Entries booked in remain stored in this station, even if an entry is subsequently booked into another station.

Figure: Activated "Storage station" checkbox in the editing screen

When to use this function:
This function is suitable wherever a fixed storage location needs to be documented in parallel with the current processing location – for example, for retained samples, aliquots, reference and master collections, archives, or long-term storage.

Advantages:

  • Parallel tracking: The long-term storage location and the current processing location of a sample can be mapped simultaneously.
  • No accidental booking out: Retained samples and archive samples remain reliably assigned, even if the same sample is processed further elsewhere.
  • Complete traceability: The permanent whereabouts of a sample in the inventory remain documented at all times.
  • Clear inventory overview: Aliquots and master collections can be consolidated in a defined location and easily retrieved.

Define positions as a grid (Rows x Columns)

  • Rows x Columns: Two numeric input fields for configuring positions as a grid structure in the station. This creates a grid for the storage locations within this station (e.g., 50x2, 9x9, 12x8, …). Ideal for boxes with master collections.

Figure: Configuration of a 9x9 grid in the "Rows x Columns" field

When to use this function:
The grid digitally maps the physical structure of a storage container – such as a cryobox, a rack, or a microtiter plate. Each sample is assigned not only to the station, but also to a unique position (row/column) within it. This function is suitable wherever the exact location of a sample within a container needs to be known – for example, for master and reference collections, aliquot boxes, or the long-term storage of sorted samples.

Once a grid has been configured, a corresponding position matrix for booking samples in and out is available in the station's detail view.

Advantages:

  • Precise localization: Every sample can be located by its position in the container – no lengthy searching required.
  • Mirrors reality: The digital grid corresponds to the actual physical structure of the box and makes orientation easier.
  • Occupancy overview: Free and occupied positions can be identified at a glance.
  • Complete traceability: Every change in a sample's position is documented in LDB.

Note: The grid configuration (Rows x Columns) should only be changed with caution if samples have already been booked into positions. Using the grid configuration precludes the standard use of stations without a grid.

Practical example: Storage box with grid

For storing ctDNA samples, a station is created as a box with a 9x9 grid. To do this, the values 9 and 9 are entered in the Rows x Columns field.

In the station's detail view, the individual grid positions are then available as input fields. Samples can be booked in directly at a position by scanning or entering the sample number. Below the grid, the booked-in samples are displayed with the date, processor, and link to the sample. The station can be accessed directly via the QR code.
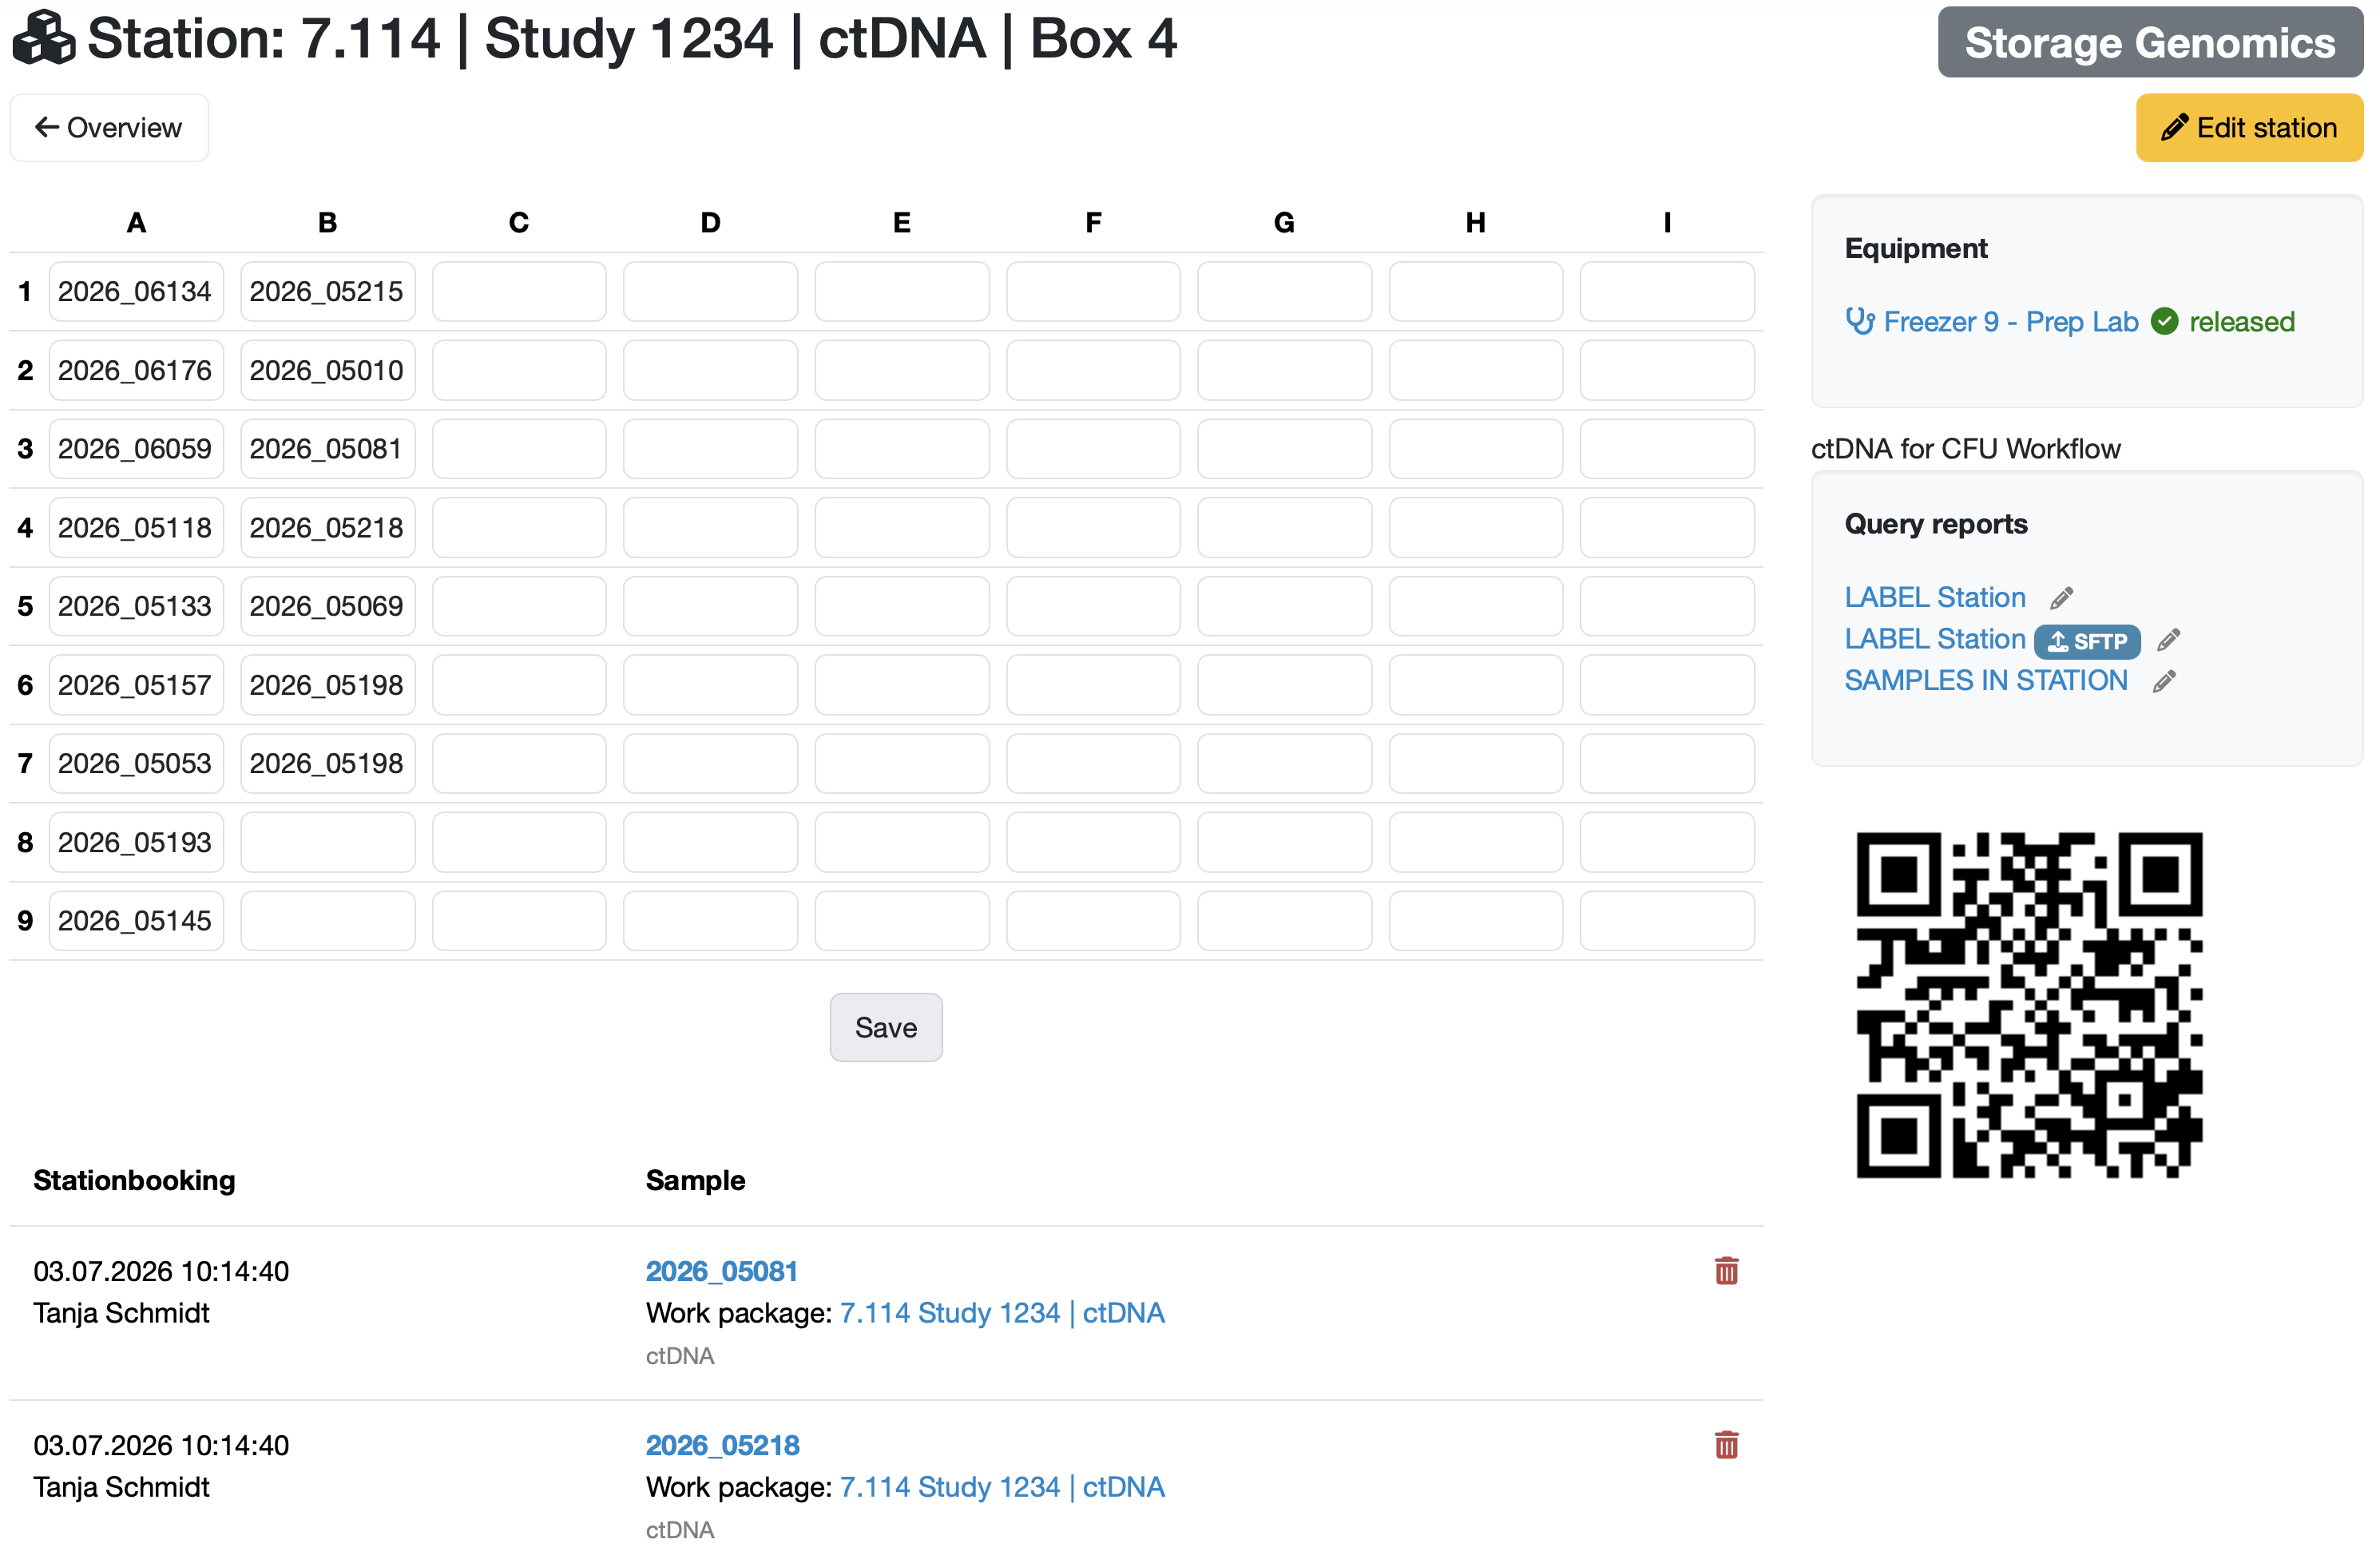
Figure: Station as a box (9x9) with booked-in samples, linked test equipment, and QR code


Delete station

  • To delete a station, click on the gray pencil icon to the right of the station name.
  • Then click on the red Delete function at the bottom of the page.

Note: Deleting a station removes the station and the associated bookings permanently.


Related topics:

Last change: 07/15/26

General information

Samples

PDF templates

Employees

Assets

Recipes

Reports

Report table editor

Interfaces

Kompetenzen

AI functions

Introductory phase

Query reports

Orders

Templates

Customers

Client zone (optional)

Offers

Invoices

Parameters

Calculating with parameters

Webservices

Transformationscode

Test plans / limit values / specifications

Documents control

Material

Questions and answers

Equipment

Trainings

8D-report

Others

Supplier evaluation

File management

Processes